Amongst all of the other photographic opportunities that exist in New Zealand and Australia, one of the most under photographed is the endemic ‘glowworm.’ Why? Because like most tourism operations, efficiency trumps individual experience.
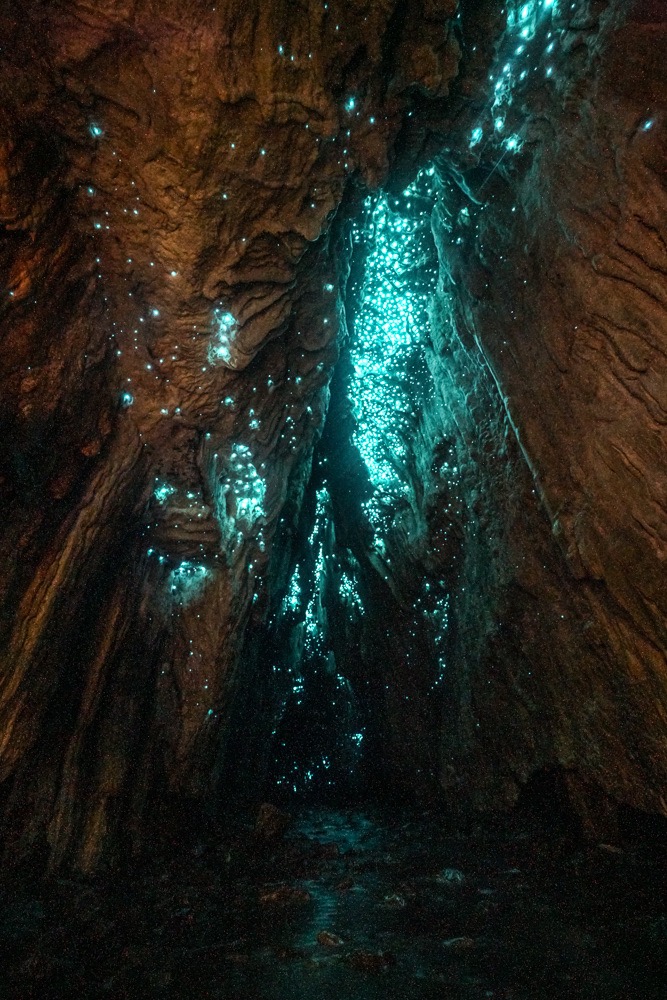
Found in native forests, grottos, and caverns – the insect is actually best found in the country’s limestone caves. The tiny bioluminescent creature isn’t actually a worm. The species endemic to New Zealand, Arachnocampa luminosa, are actually a fungal gnat (fly) that spin silk nets and lower themselves to capture their unsuspecting prey.
The best displays are in heavily protected and managed areas like the Te Aneau caves on the South Island or Waitomo on the North Island. Cost aside, many of the tour operators are on a tight time budget that rarely includes the time to experiment with these little bioluminescent creatures. If you’re wondering about where to photograph them, check this out!
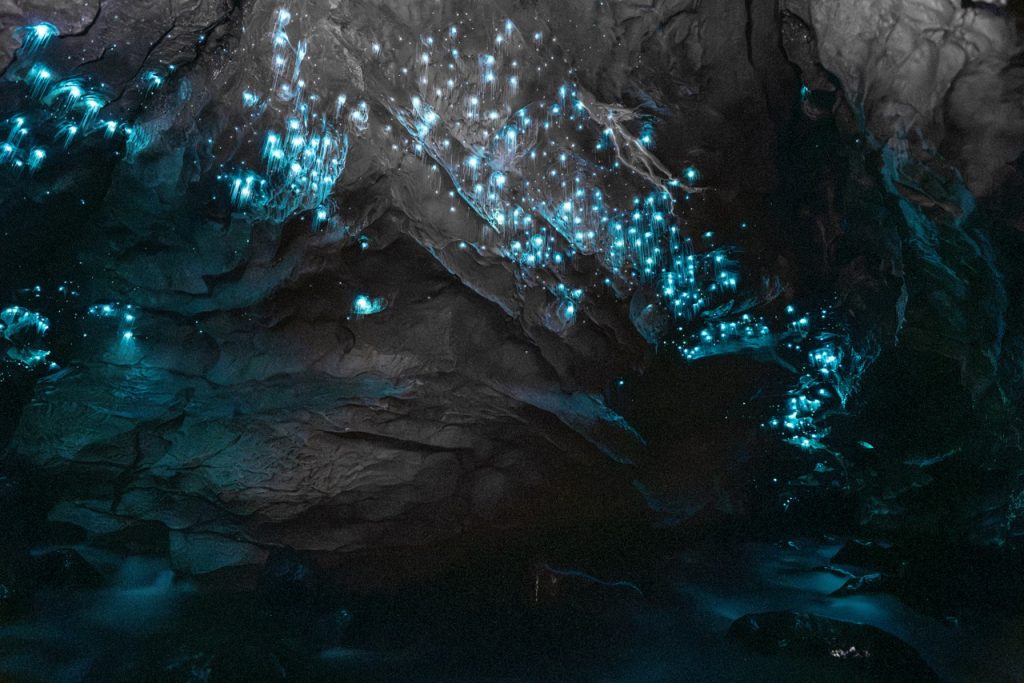
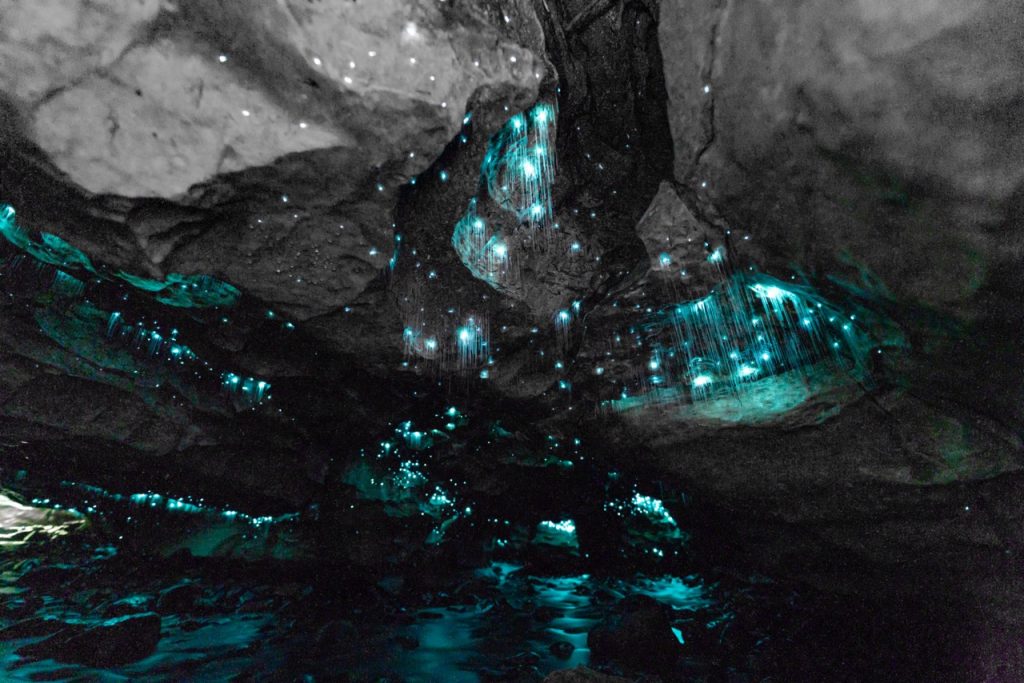
Glowworms thrive in dark, moist environments that have both running water and low airflow. The water provides a steady source of hatchling aquatic insects and humidity while the lack of wind prevents their silk fishing nets from getting tangled up. These locations (visited in the dead of night) are not always the most ideal for humans so make sure you’re prepared before you set out.
A few of the best areas to see glowworms for free, where you won’t be chased away from tour guides can be found here.
What to Bring:
Once you’ve found them you’ll want to get in position with the right gear:
- Camera with manual control
- Lens (preferably f/1.8 – f/3.5)
- Tripod
- Intervalometer (software ones work!)
- Wool Socks (to keep your feet warm even if they get wet)
- Insulating Clothing (you’ll be sitting for a while)
- Variable brightness headlamp
- Something (chocolate, an ebook) to keep you preoccupied while you wait through several 5-10 minute exposures.
Obviously judge the conditions accordingly, standing in a forest requires different gear than amateur spelunking.
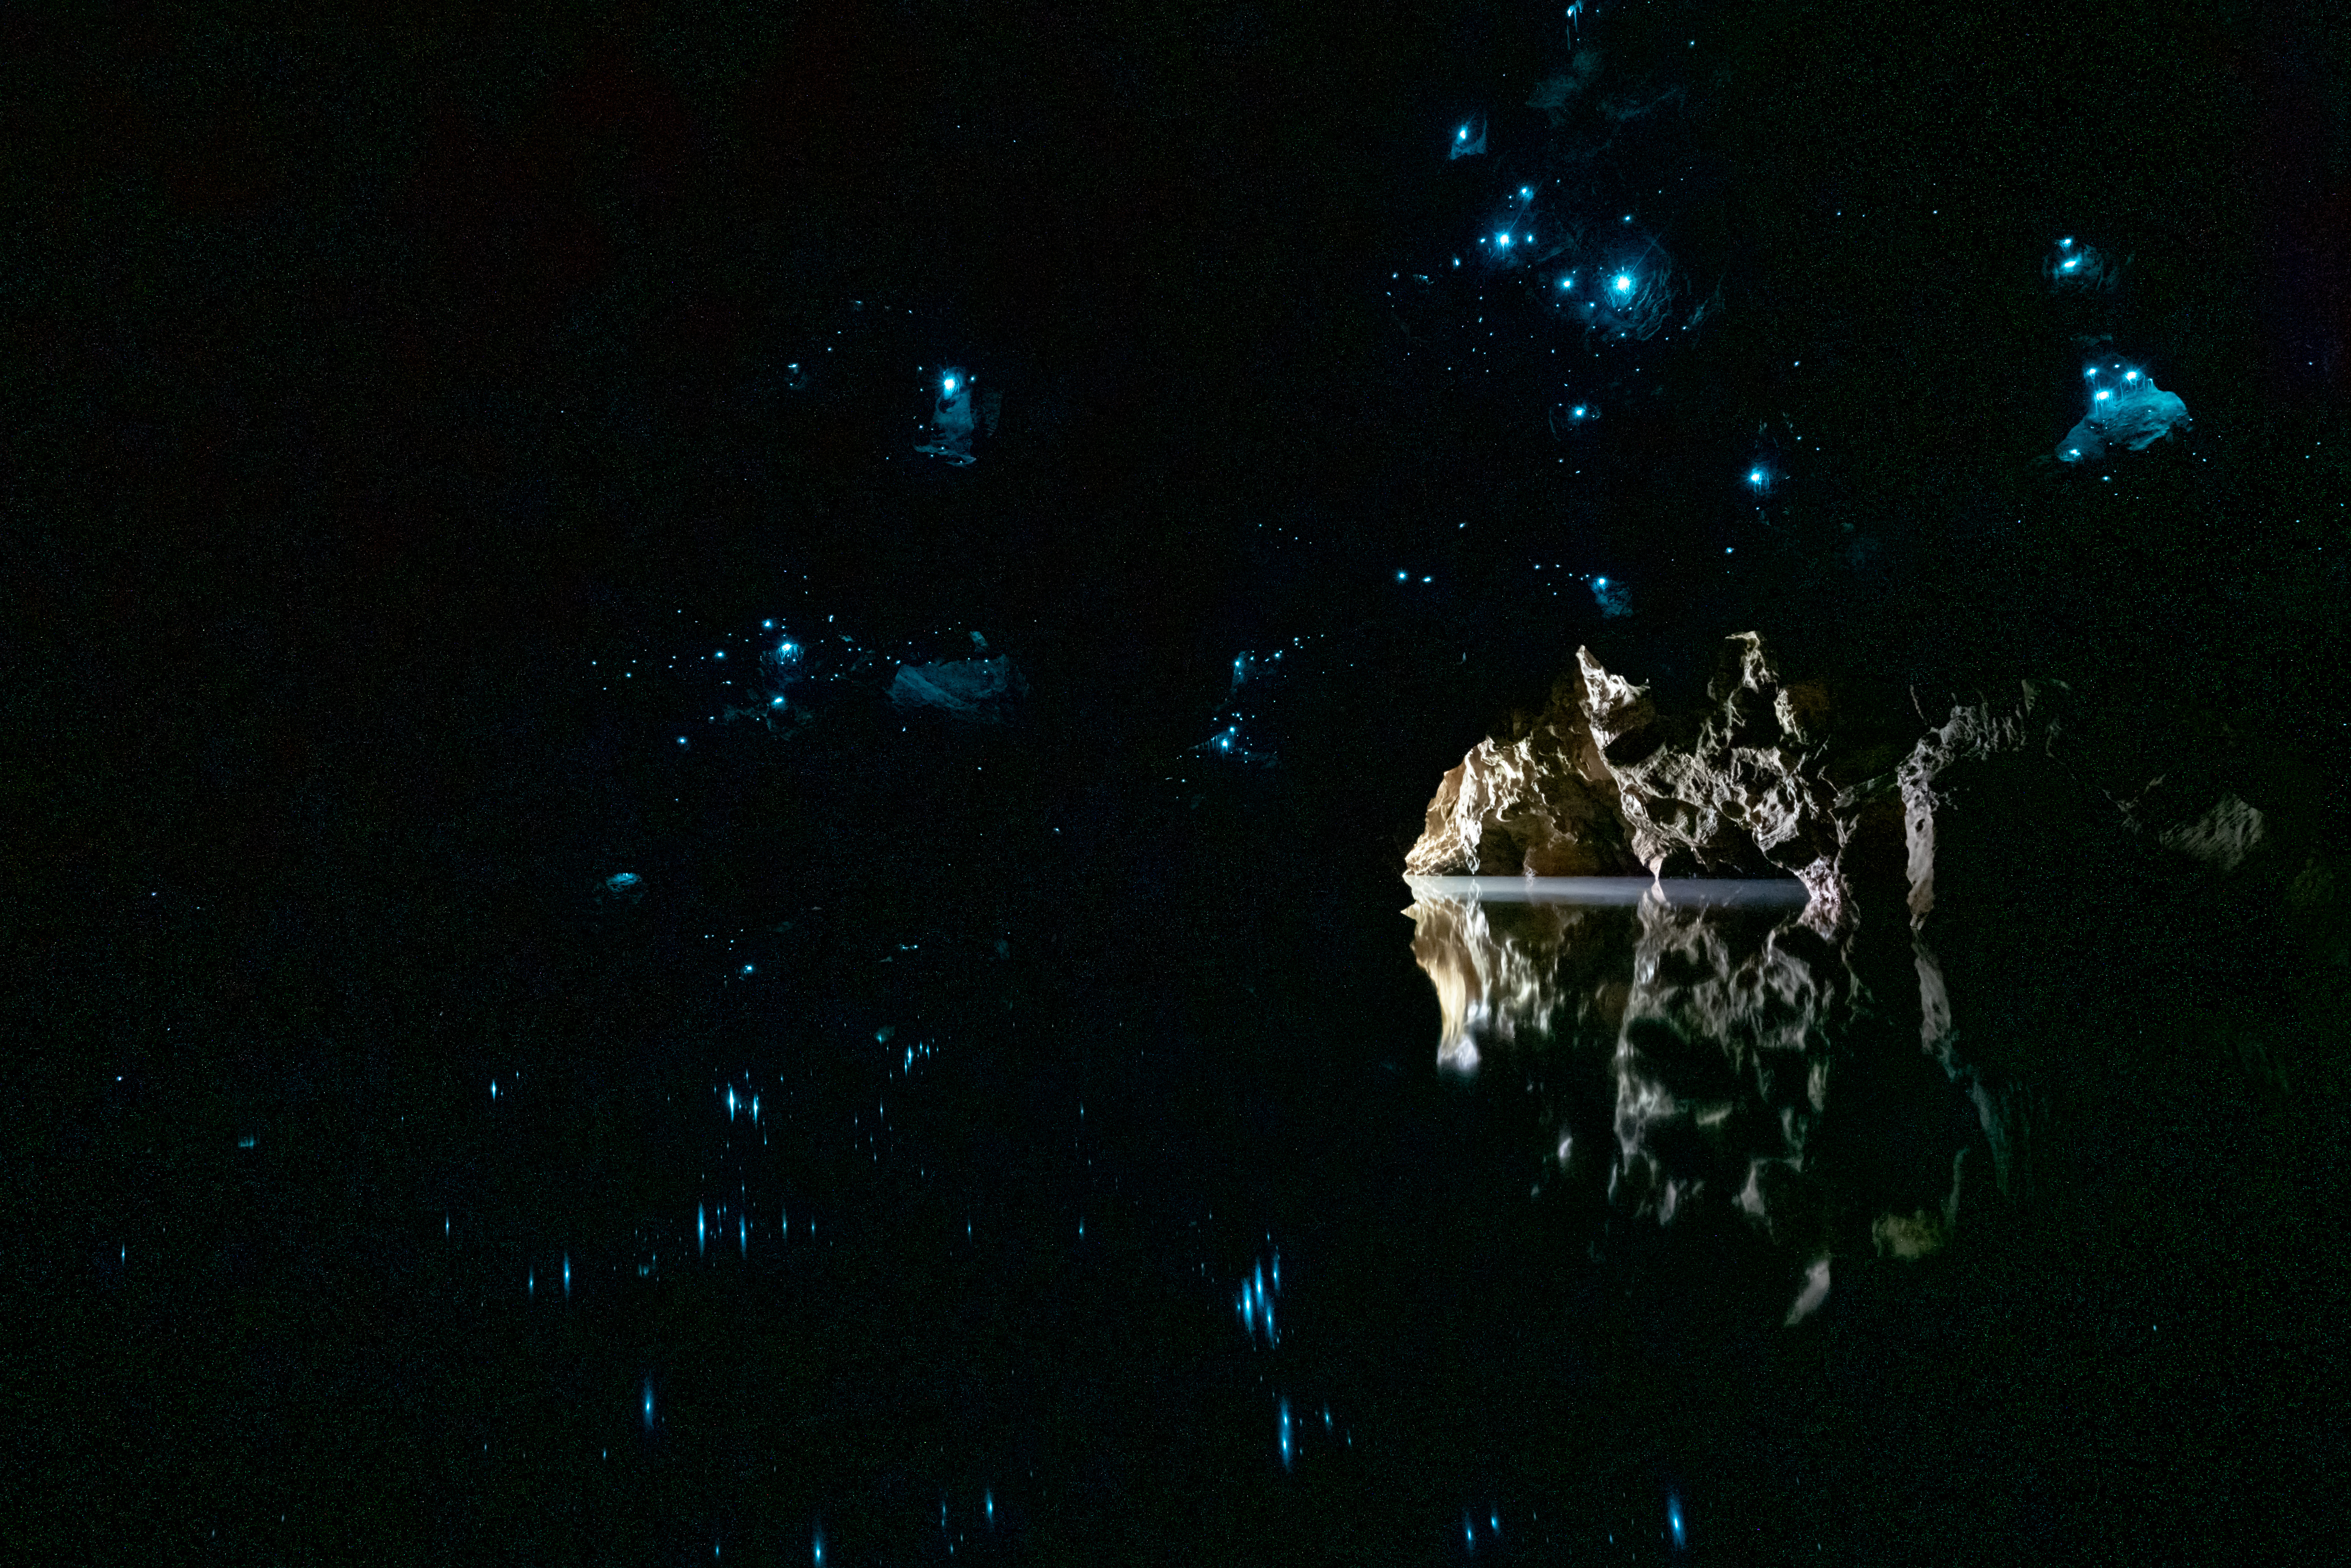
Those of you familiar with astrophotography will recognize this setup as it’s eerily similar to what you use for stars, although thankfully the glowworms should be rotating with the planet.
The first thing you’re going to need is an intervalometer – or a remote shutter release with a lock. If you don’t have one of these, don’t panic – your camera might have one built-in or available with a firmware upgrade / app installation. The lowest shutter speed that cameras will typically let shoot at natively is 30 seconds. That’s enough time to capture the glowworms, but for those really spectacular shots you’re going to want to see their surroundings as well.
Photographing Glowworms:
In manual mode, set your aperture to the largest allowed by the light (< f/4.0) and set the shutter speed to bulb. This way, the shutter will remain open just as long as the shutter button is held down. I found that dialling your shutter speed to somewhere between 3-5 minutes was the best for a full frame camera, I would extend that to 5-10 for any cropped sensor camera.
The other factor that you’ll have to modify is your ISO. Cranking your ISO all the way up will often introduce so much noise the photo will be unusable – I would max out your ff (full frame) camera’s ISO at 3,200 – 10,000 and your cropped sensor’s ISO at 3,200 – 6,400. But each camera has it’s own limits. Iffa you can keep the camera’s noise reduction off and shoot in RAW – this will give you the maximum flexibility to do your own in post.
Another factor would be using your variably bright headlamp to briefly light some of the features. Keep in mind glowworms are sensitive to light and may dim or turn themselves off as a response to it so use this technique sparingly. I have a headlamp with several modes – all but the weakest (approximately 20 lumens) is enough to overshadow the glowworms.
It’s also really important to be able to set the focus on your lens before you start with the long exposures. If you have markings, use those. If not, try bumping up the ISO as high as it’ll go and take some test shots before ramping it up.
In Summary:
Cropped Sensor: Aperture: < f2.8 | ISO 3,200 – 6,400 | Shutter Speed: 5 – 10 minutes
Full Frame: Aperture: < f4 | ISO 3,200 – 10,000 | Shutter Speed: 3 – 5 minutes
Post Processing:
Taking the photos is only the first step. For those dealing with less-than-ideal gear, or just refusing to risk their $3,000 investment in a cold, dark cave – there are some tricks you can do to maximize your potential. The first is shooting in RAW, which will give you the most uncompressed information to work with. The second is taking multiple exposures of the same scene. You can stack these exposures in a tool like Photoshop or Lightroom for noise reduction and shadow brightening. If you don’t, noise reduction software is readily available, just pick your favourite.
Shooting in RAW also affords the ability to adjust the white balance in post. So keep an eye on that as well if you happen to be shooting JPEG deep underground.
Hopefully using these tips you’ll be able to avoid a lot my mistakes and significantly reduce the amount of time spent fixing and messing up exposures. Happy Shooting!
Leave a Reply